How to clean a mechanical keyboard

 Image: SteelSeries
If you’re a full-time goblin like me and do almost everything at your computer, chances are your peripherals could use a good cleaning. Not only do I regularly eat lunch at my desk (a bad habit, I know), but I’ve also got longer hair and many of those loose strands end up in the crevices of my mechanical keyboard.
Fortunately, it’s pretty easy to clean a mechanical keyboard, as you can pop off the keycaps and remove those hard-to-reach particles. Since my personal keyboard was long overdue for a deep cleaning, I went ahead and broke down the process with step-by-step instructions. Read on to learn more.
Looking to pick up a mechanical keyboard? Check out these six points of caution before you buy.
At a glance Time to complete: 25 minutesTools required: Compressed air, toothbrush, damp cloth, soap, water1.
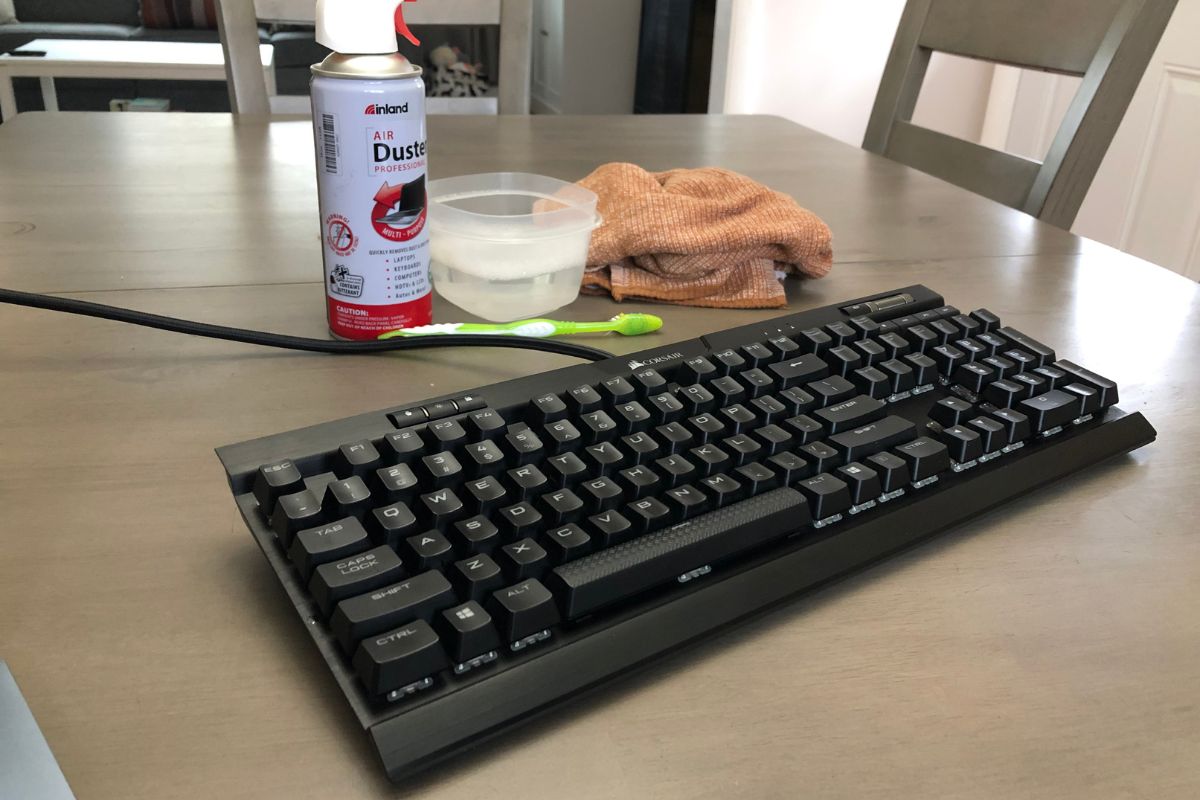
Unplug the keyboard (if you’ve got a wired keyboard)
IDG / Ashley Biancuzzo
This step is self-explanatory, sure, but it still needs to be stated. If you’ve got a wired keyboard, you’re going to want to unplug it. Since we’re later going to wipe the keyboard down with a damp cloth, it’s better to be safe than sorry. Water and electronics are far from bosom buddies. Don’t mix them.
2.
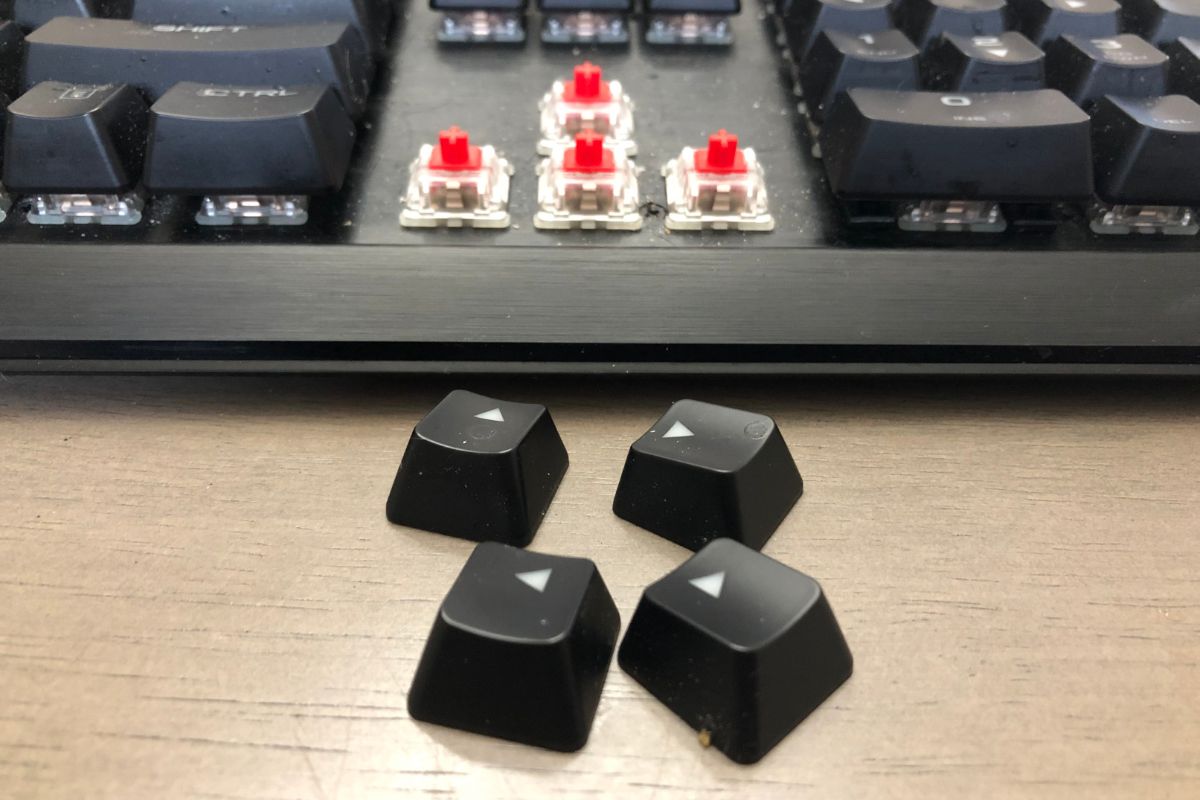
Remove the keycaps
IDG / Ashley Biancuzzo
Most keycaps can be removed from the mechanical keyboard by pinching the sides and pulling up. It requires minimal effort, really. This is how you gain access to those hard-to-reach areas beneath the keycaps. If you’d rather not use your fingers, you can always pick up a keycap puller, which is a tool that pops off the keycaps for you. A keycap puller will also remove the keycaps much faster.
3.
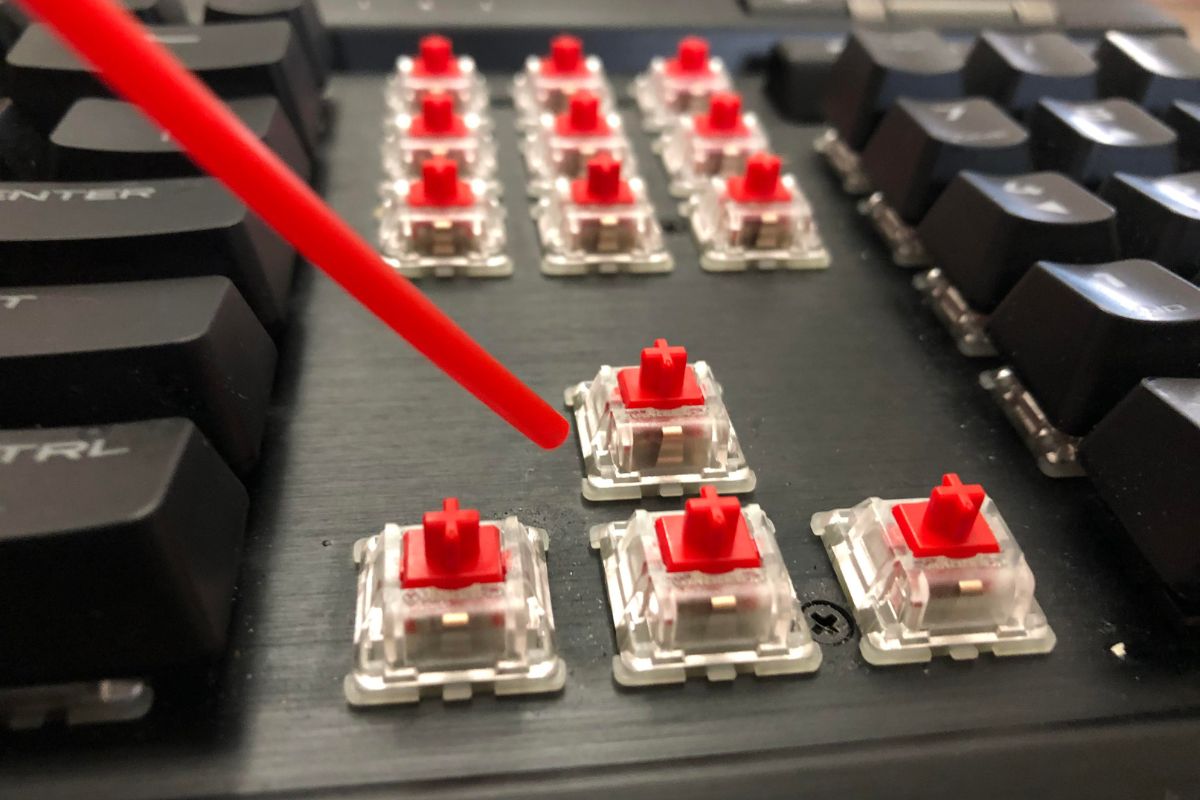
Use compressed air to blow away loose particles
IDG / Ashley Biancuzzo
You’ll probably see a lot of crumbs, hair, and other loose debris underneath the keycaps. You can easily blast those particles away by using a can of compressed air. After you’ve completed this step, take a moment to examine the areas around the switches. You may find more stubborn debris clinging to the edges of the switches.
4.
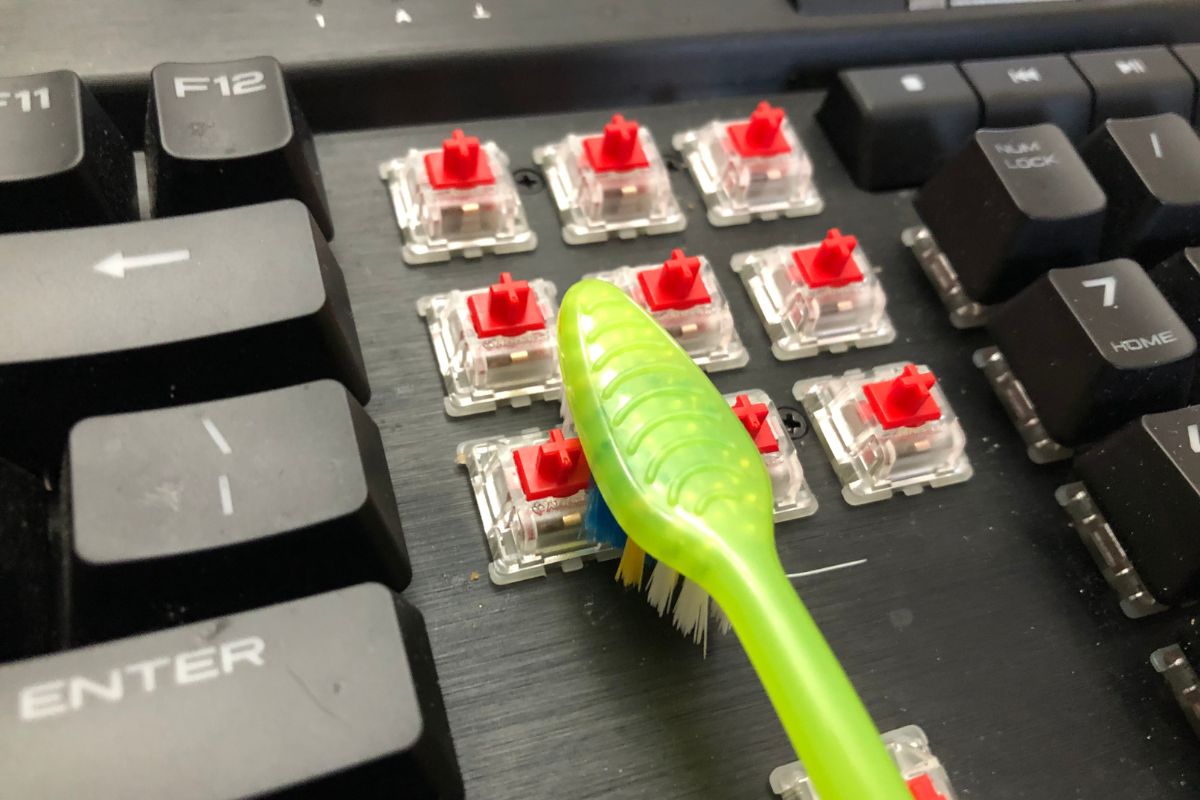
Use a soft bristle toothbrush to tackle stubborn debris
IDG / Ashley Biancuzzo
If you find stubborn debris in the crevices of your keyboard, remove it with a soft bristle toothbrush. For stickier messes, wet the bristles with some water and soap and brush carefully. Toothbrush bristles are small and gentle enough for the delicate job of cleaning around the switches.
5.
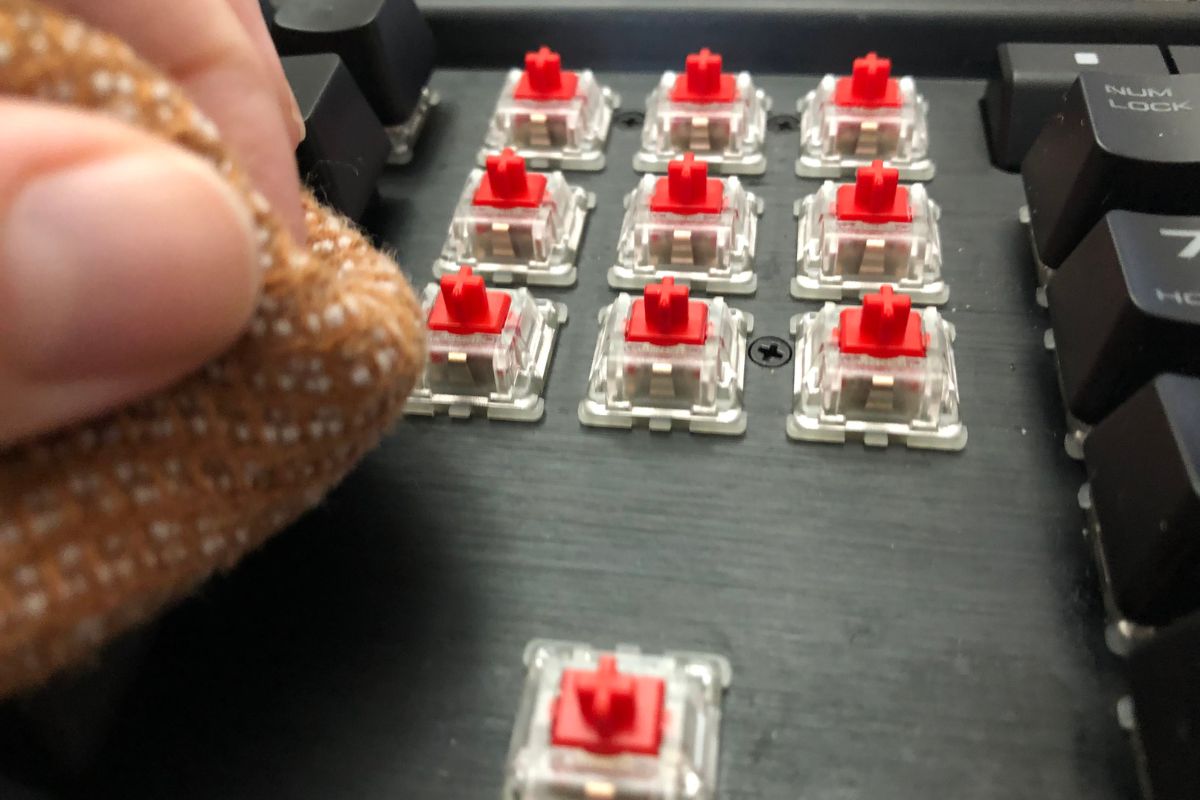
Wipe the keyboard down with a damp cloth
IDG / Ashley Biancuzzo
Wiping down the keyboard with a damp cloth will get rid of any sticky spots. Don’t ever take a sopping wet cloth to your keyboard. You definitely want to avoid getting any water in the cracks and crevices of your precious peripheral.
6.
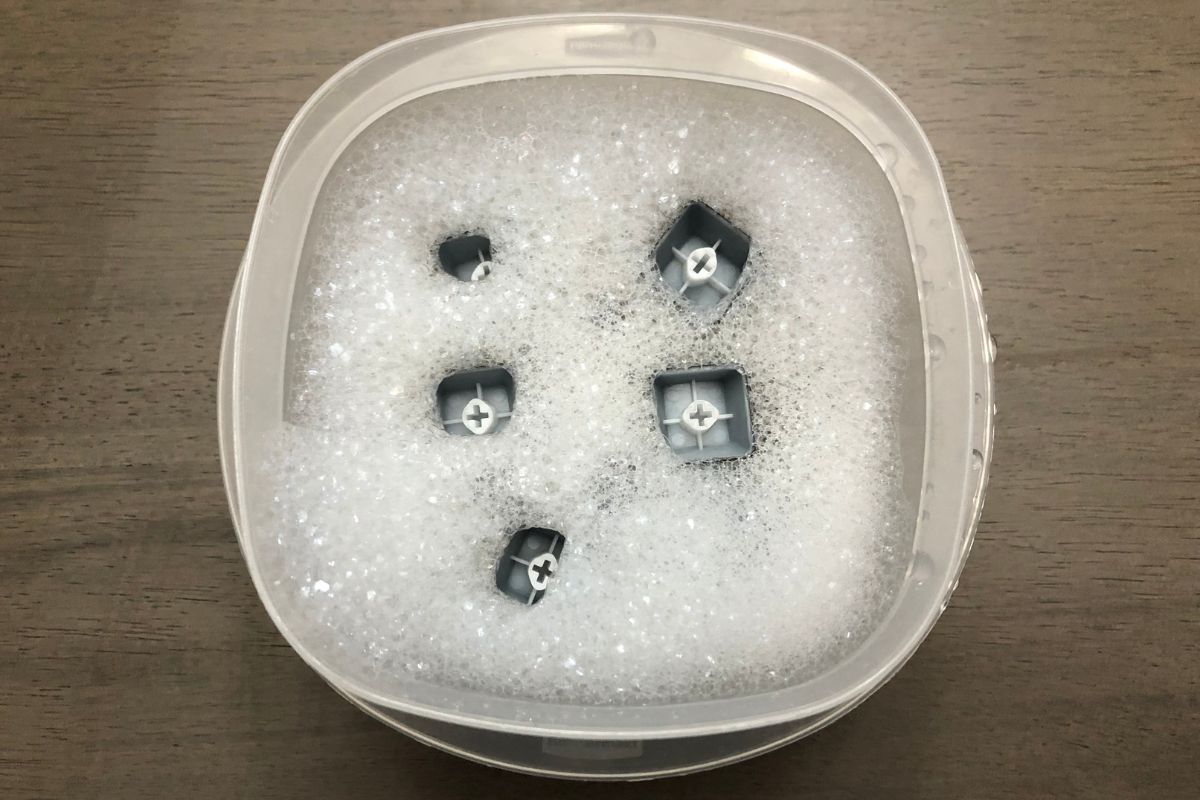
Soak the keycaps in warm water and soap (optional)
IDG / Ashley Biancuzzo
Unless you want to deep clean every part of your keyboard, you don’t have to soak the keycaps in warm soapy water. However, if you’d rather leave no stone unturned, then go for it. You may find that your keycaps get oily over time due to extensive use. Make sure your keycaps are completely dry before putting them back on the keyboard.
7.
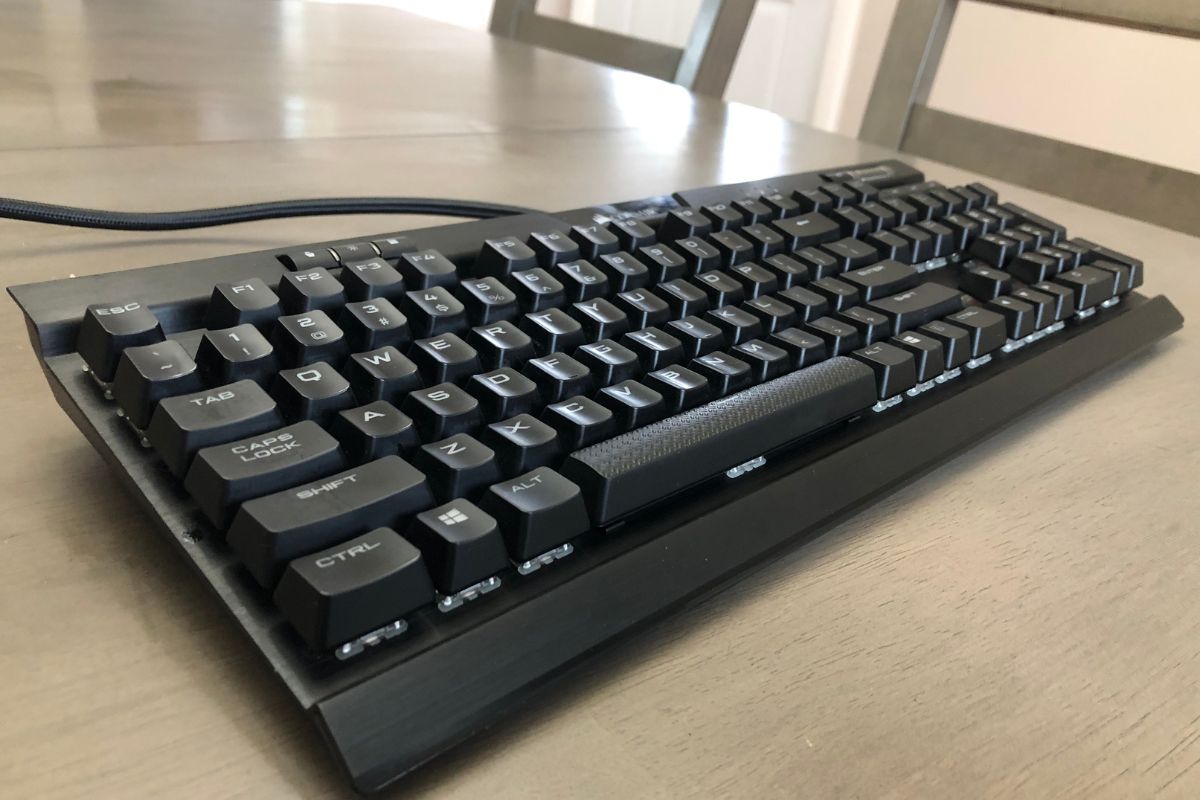
Reassemble the keyboard
IDG / Ashley Biancuzzo
Now that your keyboard is free of debris (say that five times fast), go ahead and reassemble the keycaps. The most time-consuming part of cleaning a mechanical keyboard will be the removal and reassembly of the keycaps. The rest is easy as pie.
Author: Ashley Biancuzzo, Associate Editor

Ashley is a professional writer and editor with a strong background in tech and pop culture. She has written for high traffic websites such as Polygon, Kotaku, StarWars.com, and Nerdist. In her off time, she enjoys playing video games, reading science fiction novels, and hanging out with her rescue greyhound.
Recent stories by Ashley Biancuzzo:
Nab this spacious SteelSeries gaming keyboard for just $35Amazon’s Big Spring Sale: The 25 juiciest tech deals I’ve foundMy favorite Corsair mechanical gaming keyboard is $50 off today


